Modeling Data
The contents you create are based on Models. They describe the schema of your content, what are the fields available, the relations with other contents and the features a content has.
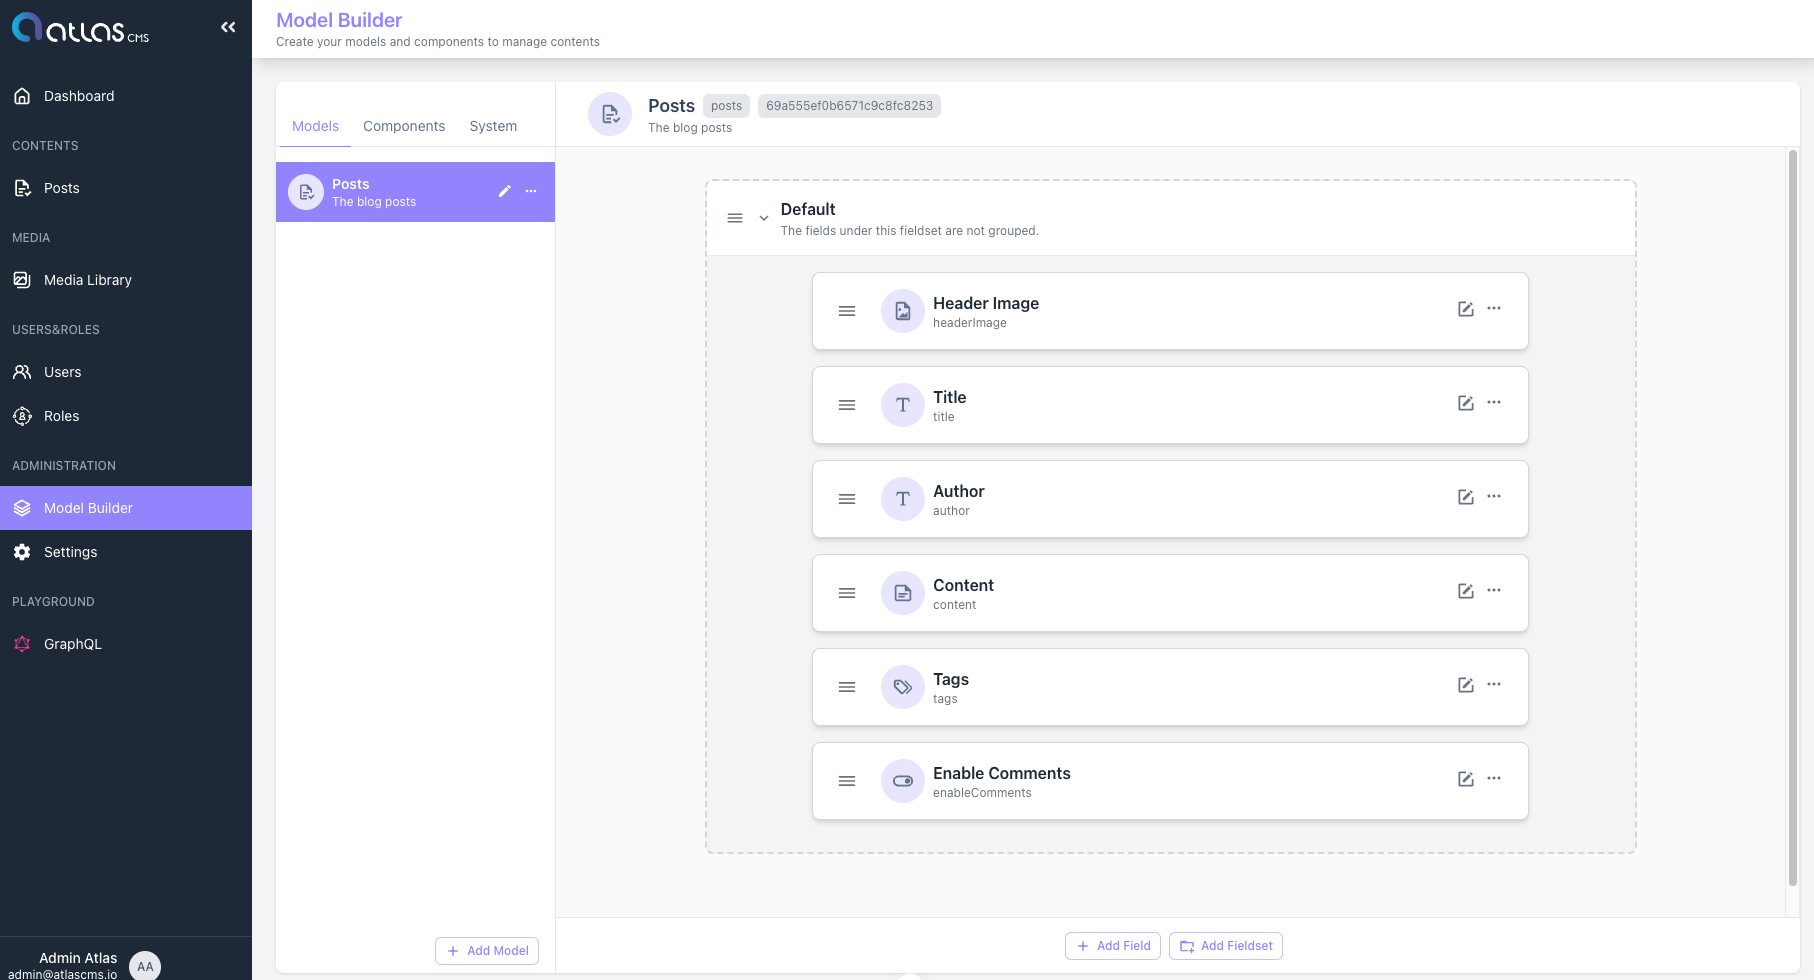
Each model is composed by 1 or multiple Fields that you define through the Model Builder interface.
TIP
You can define as many Models you need for your projects. For example you can define models for products or posts or categories, and so on.
Each content created with the Models are stored in Collections. Atlas CMS supports you on the creation of Models through the use of a Visual Model Builder that helps you to define your data.
The Models can be adjusted or changed at any time with an immediate effect on your contents. However, changing Models is not always without side effects for your project. There are circumstances where you may prefer to migrate contents from a Model to another because the changes of an old model affects the project in production or for any other needs. For these reasons, content modeling is a very delicate phase that requires you to think carefully about the use of this data before the implementation of the final project.
TIP
You can think of Model as Tables in a Database where the model is the Table and the fields are the columns. In general, the creation of Models is the first action you do when you start working with Atlas CMS.
Visual Model Builder
You can create your Models with the Visual Model Builder accessible through the left menu of the Admin UI.
The first time you access, Atlas CMS will allow you to create the first model. Selecting the Create Model button a modal screen comes up asking to enter the information required.
Models have properties you can edit when you create or update them, to define their behaviours:
| Property | Description |
|---|---|
| Name | The name of the model, that will appear on the Menu |
| Description | (optional) A description for the type of content the Model serves |
| Key | The name of the API endpoint. Unique across Models |
| Enable Localization | If the content created accepts multiple versions of it in different languages |
| Single Collection | If the collection allows only 1 content for the Model |
| Enable Stage Mode | If you want to have a publish/unpublish feature for contents of this Models |
| Icon | The icon representing the Model, that will be visible in the left sidebar together with the name |
Once a model is created, the screen will present a new item in the left sidebar, which allows access to the contents based on the model, and in the main section you will find the list of models (with the one just created already selected) with the ability to add new fields or new models.
Components
In the Model list there is a Tab that can switch between Models and Components. Components are a special type of Model that can be embedded in models. Like models, components have 1 or multiple Fields. Components are reusable, it means that a component can be embedded in multiple models. The purpose of Components is to avoid Models that share fields to create and maintain them per each Model, plus the use of Components allows you to create Page Builders with dynamic sections.
Create fields
To create fields you need to select the Add Field button. A new modal comes up asking to select the type of Field you want to add.
There are many Fields available and ready to use. Each Field has a common set of properties, and can have a specific set of properties (i.e. validation or visual editor types) that depends by the type of Field.
TIP
For a detail of each Field you can read the chapter dedicated to Fields.
The Fields available are:
| Field Type | Description |
|---|---|
| Text | Simple text input or text area |
| Rich Text | Markdown or HTML editor |
| Number | Text input that accept only numbers, integer or float |
| Yes/No | Boolean true/false field |
| Date | Date Picker |
| Date Time | Date & Time Picker input |
| Time | Time Picker input |
| Single Choice | Radio Buttons or Dropdown Select |
| Enumeration | Checkboxes or Multiselect Dropdown |
| Tags | Free tags input |
| Media | Add a single image, document or video |
| Media gallery | Add a gallery of images, documents or videos |
| Color Picker | An RGB/Hex Color Picker input |
| Map | Coordinates values to store geographical information |
| Key/Value | A repeatable field to store an array of key/value data |
| Value Array | A repeatable field to store an array of simple strings |
| Json | To store a custom Json Object |
| Relations | To create relation to other contents of different models or of the same |
| Component | To embed the data structure of a component |
| Multi Component | To embed an array of multiple dynamic components |